
Cracked Tiles Got You Down? Your Guide to Tile Repair Solutions
We’ve all been there. You walk into the bathroom and spot a spiderweb crack marries the once pristine surface of your tile floor. Or maybe a rogue dropped object leaves a chipped corner on your beautiful kitchen backsplash. Cracked tiles can be an eyesore, but don’t despair! Before you resign yourself to a complete floor or wall replacement, explore the various tile repair solutions available.
Understanding the Crack
First things first, assess the damage. Cracks can range from minor hairline fractures to large, gaping holes. The severity and location of the crack will determine the best course of action. Here’s a breakdown of different types of cracks:
Hairline cracks
These are thin, superficial cracks that may not even be noticeable from a distance. They are often purely cosmetic and may not require immediate repair.
Surface cracks
These cracks penetrate slightly deeper but don’t typically go through the entire tile. Repairing these cracks is important to prevent further damage and potential moisture infiltration.
Cracks through the tile
Cracks that extend entirely through the tile can compromise the structural integrity of the floor or wall. These cracks require prompt Tile repair to prevent further damage and potential safety hazards.
Deciding on the Right Tile Repair Technique
There are several tile repair options depending on the extent of the damage and your DIY comfort level.
Grout Repair (Hairline Cracks)
For minor hairline cracks confined to the grout lines, a simple DIY fix is possible. Here’s what you’ll need:
Remove the damaged grout
Using a grout removal tool, carefully scrape out the old, cracked grout between the tiles. Work in small sections and avoid damaging the surrounding tiles.
Clean the area
Thoroughly clean the removed grout area with a damp sponge to remove any dust or debris. Let the area dry completely.
Apply new grout
Mix the grout according to the manufacturer’s instructions and apply it to the cleaned grout lines using a grout float. Smooth the grout with the float and remove any excess. Let the grout cure completely.
Seal the grout (optional)
Applying a grout sealer can help protect the grout from future staining and cracking.
Peace of Mind and Warranty
Hiring professional tile installation services provides peace of mind. Knowing that your project is in the hands of skilled professionals allows you to relax and focus on other aspects of your renovation. Additionally, most professional installers offer warranties on their work, giving you the assurance of quality and protection against any potential issues.
Epoxy Resin Tile Repair (Surface Cracks)
For small surface cracks within the tile itself, epoxy resin can be a viable solution.
Clean and prep the crack
Use a razor blade to carefully remove any loose debris from the crack. Clean the area with rubbing alcohol and let it dry completely.
Apply painter's tape
Use painter’s tape to create a clean border around the crack, preventing epoxy from spreading onto surrounding tiles.
Mix and apply epoxy
Following the instructions provided with your epoxy resin kit, mix the resin and hardener with the desired amount of color pigment (if needed) to match your tile color. Apply the epoxy mixture to the crack using the applicator, ensuring it fills the entire void.
Remove tape and clean
Once the epoxy cures completely (refer to the manufacturer’s instructions for cure time), carefully remove the painter’s tape. Use a damp rag to remove any excess epoxy residue.
Tile Replacement for Larger Cracks
For large cracks running through the tile or significant chips in the corner, replacing the damaged tile is the best solution. Here’s what you’ll need:
Remove the damaged tile
Carefully score around the perimeter of the cracked tile using a utility knife. Wear safety glasses for protection. Depending on the tile and adhesive used, you might be able to pry the tile loose with a flathead screwdriver. If not, use a hammer and chisel (with caution) to break the tile into smaller pieces for easier removal.
Clean the subfloor
Once the damaged tile is removed, ensure the subfloor is clean and free of debris. Remove any old adhesive residue.
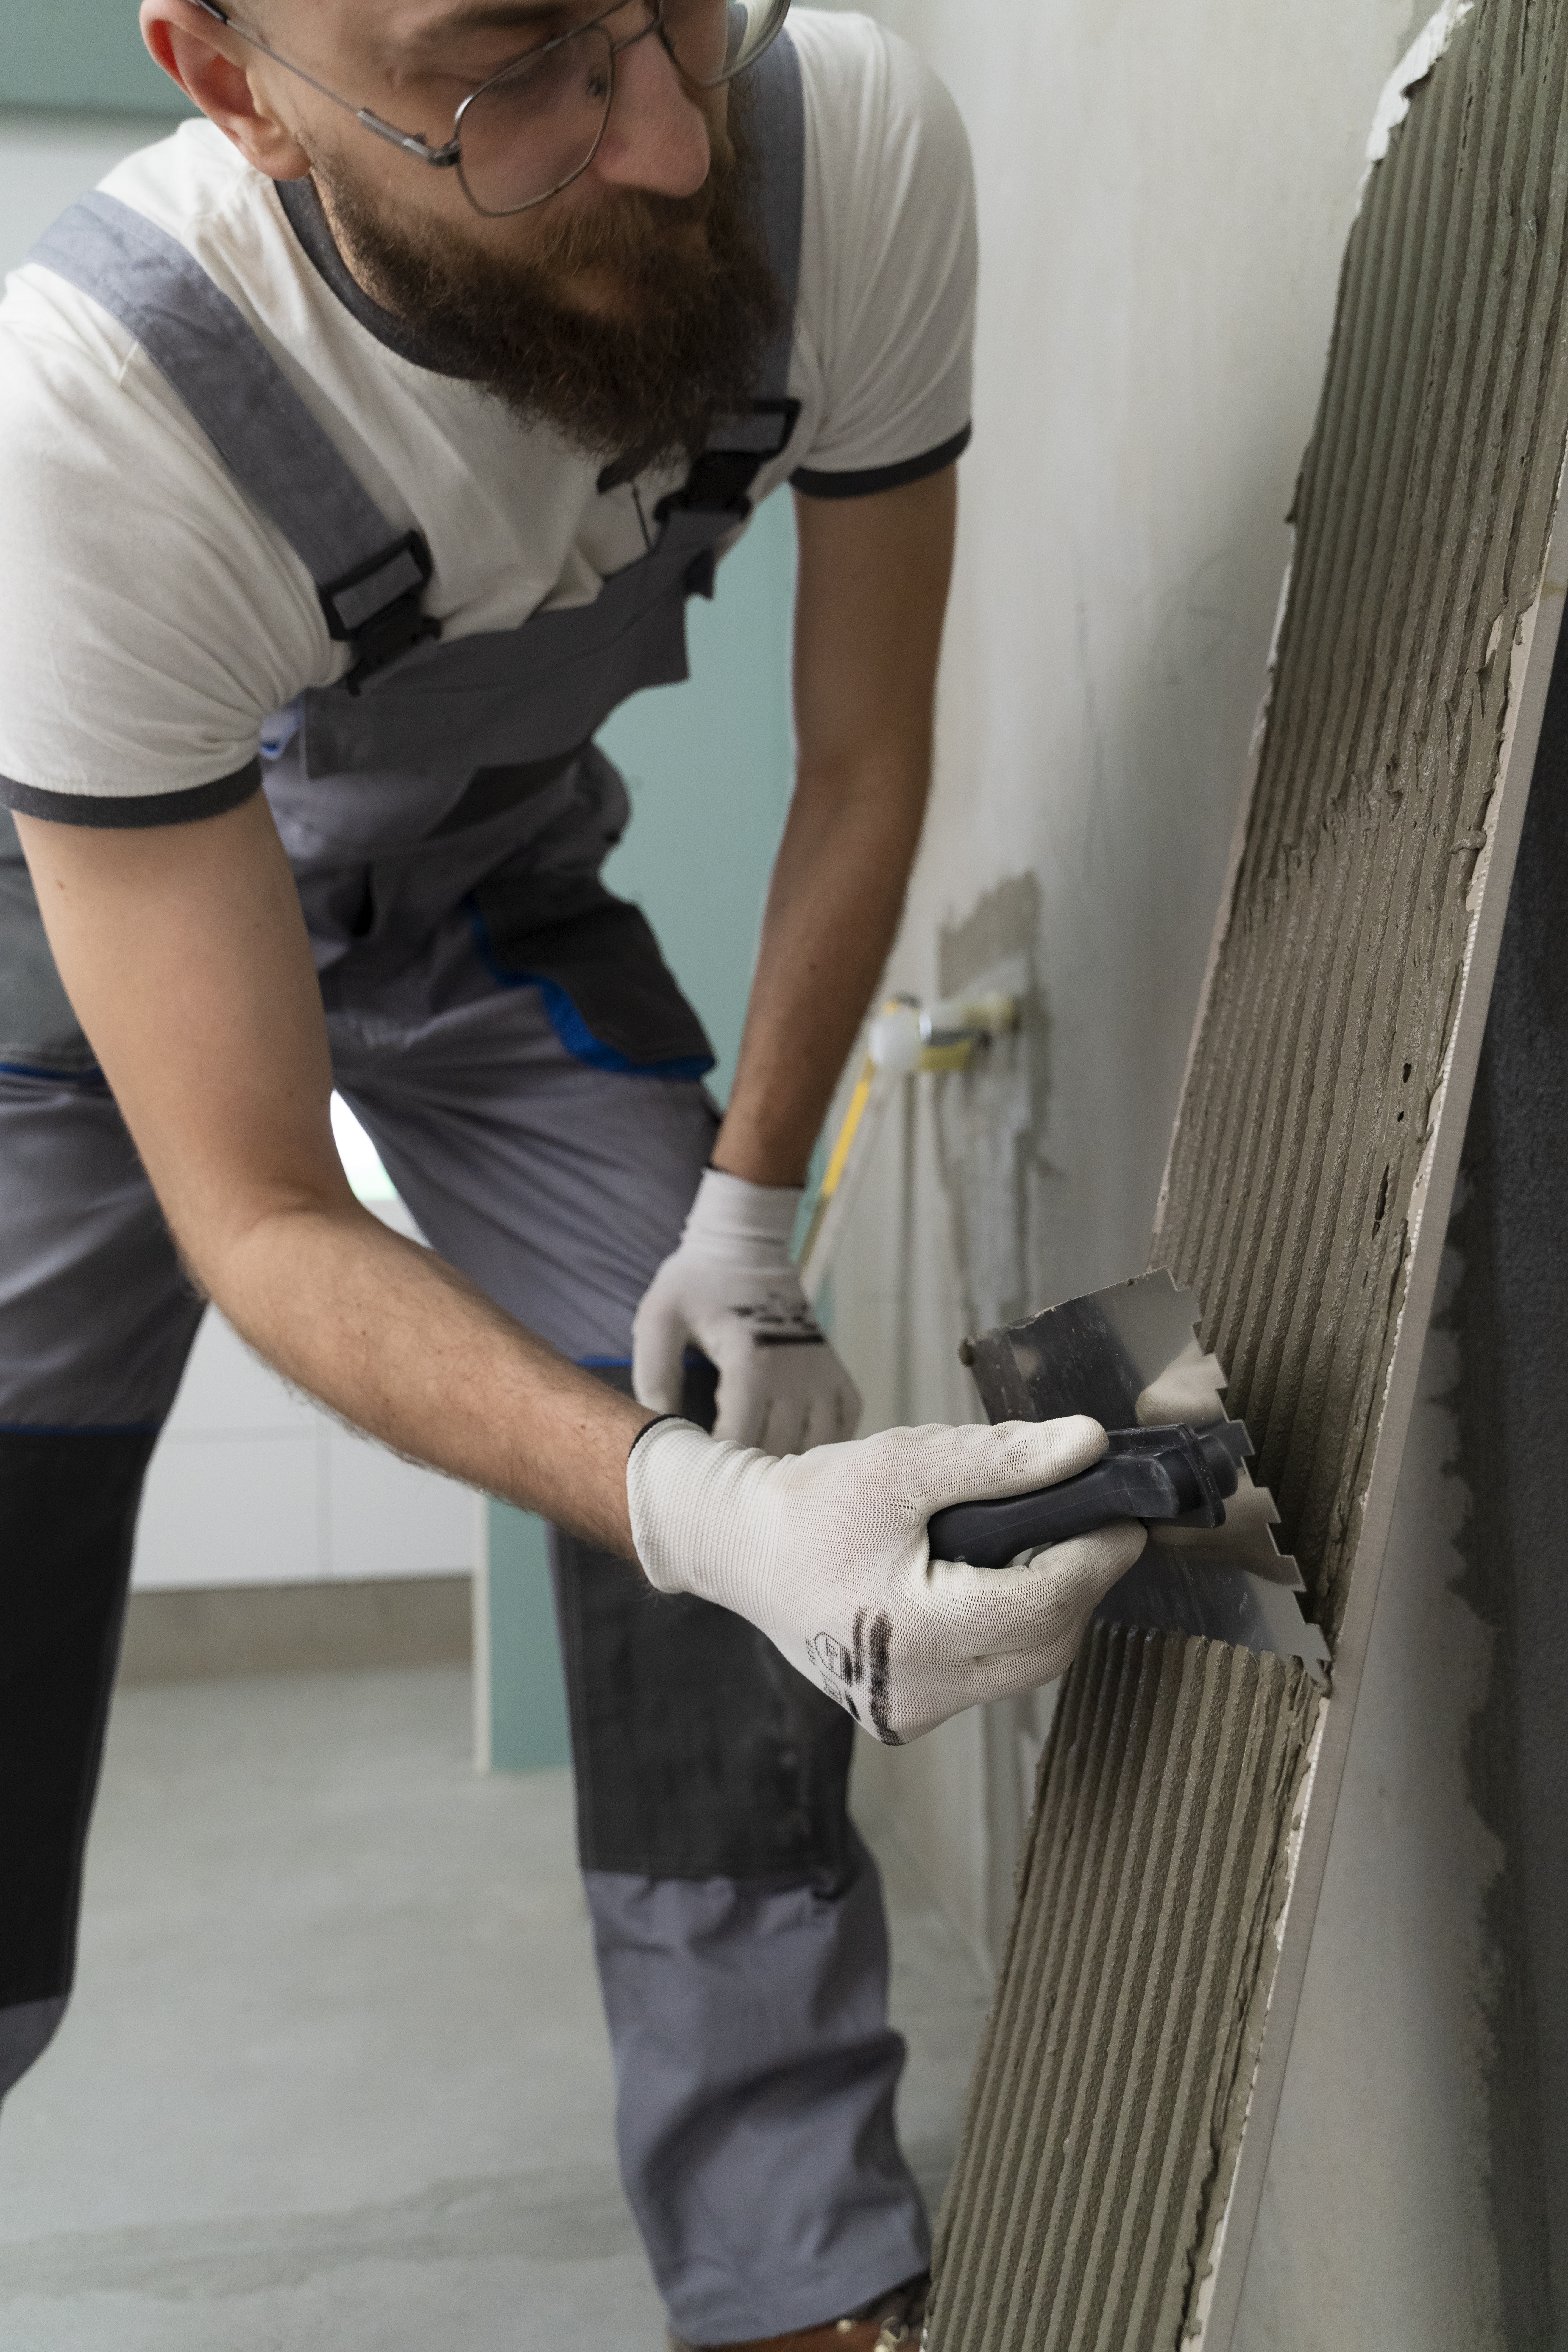
Apply thin-set mortar
Spread a thin layer of thin-set mortar onto the back of the replacement tile and the surrounding subfloor.
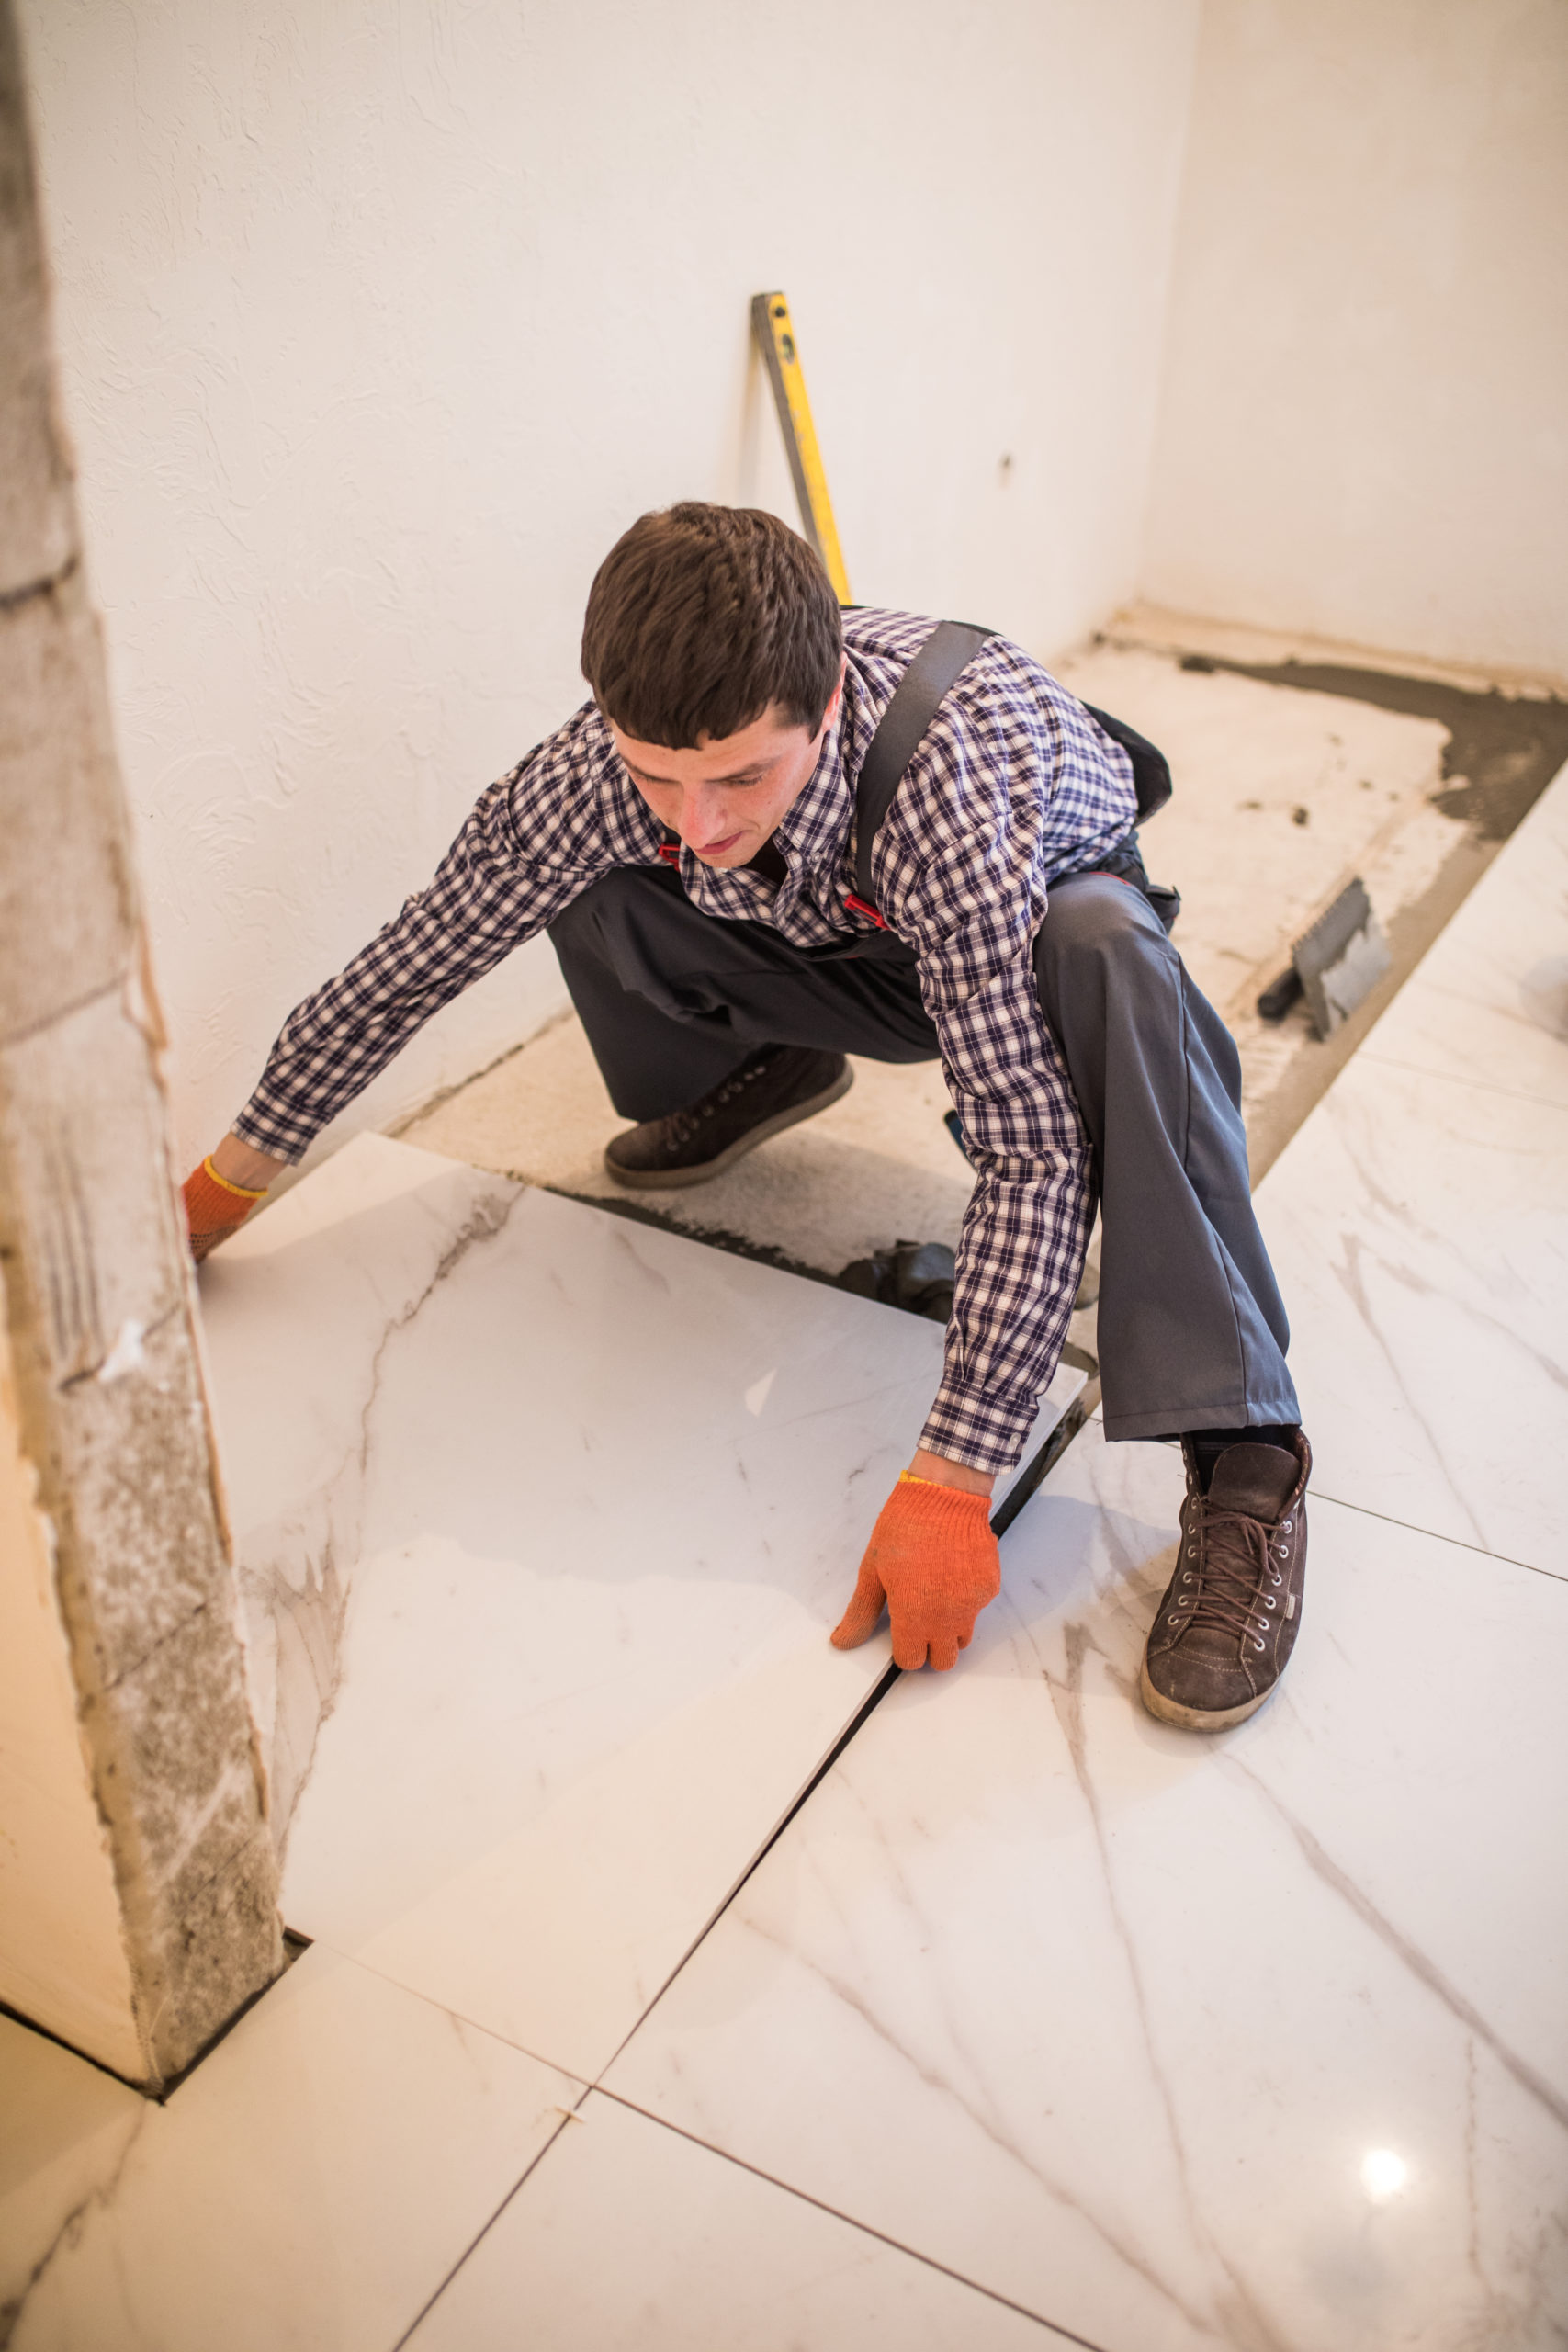
Set the new tile
Carefully position the replacement tile in the space and press it firmly into the thin-set mortar. Ensure the new tile is level with its neighbors.
Conclusion
While cracked tiles can be frustrating, don’t rush into a full replacement! Assess the damage and choose the Tile repair method that best suits your needs. For minor cracks, DIY solutions like Tile repair and epoxy resin can restore the appearance. For larger cracks and missing pieces, replacing the damaged tile is the best course of action. With a little effort and the right tools, you can breathe new life into your tiled surfaces and save money on professional repairs.